Introduction
Do you want to know about Image Masking? Do you want to learn how to mask an image in Google Slides, or how to mask an image in Photoshop with the help of some easy tricks and steps? If yes then read this blog till the end. In this blog, we will give you a full-fledged definition of Image masking, and a super easy tutorial on how to mask an image in google slides and Photoshop, so that you can save your money and time by masking an image on your own. So, let’s start and clear all your confusion regarding image masking.
So before starting, let’s know what is image masking?
What is Image Masking?
In graphic editing software like Photoshop, the image masking technique is used to selectively hide or reveal areas of an image. It is a non-destructive method that enables future alterations and corrections. Complex aspects like hair or translucent objects can be controlled precisely. Image masking enables fluid edits, editing versatility, and creative options. It can be used as a flexible tool for image editing.
Comparing image masking to other editing methods, it also provides more flexibility and creative freedom. A mask can be readily adjusted or improved after application to achieve the desired results. This makes it possible to selectively apply various effects, mix together several photos, or fine-tune the visibility or transparency of particular areas. Image masking offers a flexible option whether you want to make composite photographs, change backgrounds, or add special effects to certain components.
Now let’s discuss the types of Image Masking. also check how to fix Character Ai Chat Error and Fix Chat GPT Error Code 1020
Types of Image Masking and Features of Image Masking ?
1. Types of Image Masking
There are several types of image masking techniques commonly used in graphic software applications. These include:
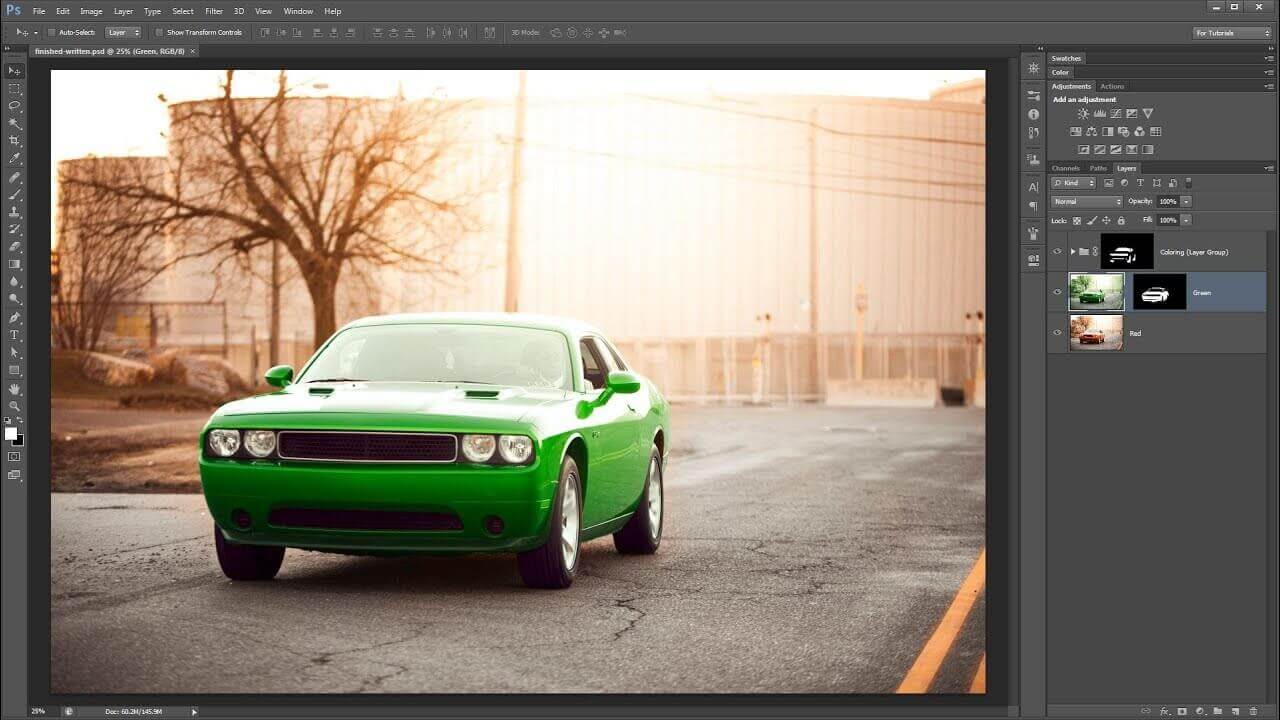
1.1 Layer Masking:
This involves creating a mask on a specific layer to control the visibility of different parts of the layer. The mask is represented by a grayscale image, where white areas are visible and black areas are hidden.
1.2 Clipping Masking:
In clipping masking, the visibility of an object is controlled by another object or shape placed on top of it. The top object acts as a clipping mask, determining which parts of the underlying object are visible.
1.3 Alpha Channel Masking:
Alpha channel masking involves creating a mask based on the transparency values (alpha channel) of an image. This technique is commonly used for masking out complex objects with fine details, such as hair or fur.
1.4 Channel Masking:
Channel masking utilizes specific channels (such as Red, Green, or Blue) from an image to create a mask. This method is useful when certain channels contain more contrast or information for creating accurate masks.
1.5 Transparency Masking:
Transparency masking is employed Transparency Masking: Transparency masking is employed when an image has varying levels of opacity or transparency. It involves creating a mask that determines which parts of the image are transparent or opaque, allowing for selective visibility.
1.6 Collage Masking:
Collage masking is used when combining multiple images or elements together. It involves creating masks for individual images or elements and then blending them together seamlessly to create a cohesive composition.
1.7 Advanced Masking Techniques:
There are also advanced masking techniques that may involve a combination of multiple methods, such as refining masks using brushes or using tools like the Quick Selection Tool or Pen Tool for precise selections.
Each type of image masking technique has its own advantages and is suitable for different scenarios or desired effects. Graphic designers and image editors often combine these techniques to achieve the desired results in their projects.
Image Masking has many features, let’s discuss all of them one by one.
2. Features of Image Masking?
Here are the key features of image masking:
2.1 Selective hiding and revealing
2.2 Non-destructive editing
2.3 Complex element isolation
2.4 Seamless transitions
2.5 Flexibility and creativity
2.6 Handling complex shapes and details
2.7 Multiple masking types
2.8 Versatile applications
So, these were the key features of image masking. Now let’s head toward the benefits of Image Masking.
What are the Benefits of Image Masking?
Following are the benefits of image masking.
- Precise Editing
- Complex Element Isolation
- Non-Destructive Editing
- Seamless Blending
- Creative Control
- Versatile Applications
- Refinements and Modifications
- Professional Results
So these were the benefits of image masking, now it’s time to learn “How to mask an image in Google Slides”?
How to Mask an Image in Google Slides?

So these are the steps you have to follow if you want to mask an image in Google Slides. The steps are straightforward, let’s look at them one by one.
Step 1. To mask an image in Google Slides, you can use various shapes to change the look of the image.
Step 2. Select the image you want to mask.
Step 3. Click the arrow next to the Crop Image button.
Step 4. Choose a shape from the options available.
Step 5. The selected shape will be applied as a mask to the image.
Step 6. For example, you can use an oval shape to create an image mask in Google Slides.
Step 7. Apart from basic shapes, you can also use arrows, callouts, and equations to mask images.
So, the following are the easy steps to follow if you want to learn how you can mask an image in Google Slides. Now let’s know how to mask an image in Photoshop.
How to Mask an Image in Photoshop?
To mask an image in Photoshop, you can follow these steps:
Step 1. Open Photoshop and open the image you want to mask.
Step 2. Select the layer containing the image in the Layers panel.
Step 3. Click on the “Add Layer Mask” button at the bottom of the Layers panel. This will add a layer mask to the selected layer.
Step 4. The layer mask thumbnail will appear next to the image thumbnail in the Layers panel.
Step 5. Make sure the layer mask thumbnail is selected (highlighted).
Step 6. Choose a brush tool from the toolbar.
Step 7. Set the brush color to black (or white if you want to reveal the masked areas).
Step 8. Adjust the brush size and hardness as needed.
Step 9. Paint over the areas you want to mask or reveal using the brush. Painting with black will hide those areas while painting with white will reveal them.
Step 10. To refine the mask, you can use various tools like the Brush tool, Gradient tool, or selection tools like the Quick Selection or Pen tool.
Step 11. You can also use adjustment layers or filters to further enhance the masked image.
Step 12. To make adjustments to the mask, select the layer mask thumbnail and continue painting or using other tools to modify it.
Remember, a layer mask allows for non-destructive editing, so you can always adjust or refine the mask later if needed. Experiment with different techniques and tools to achieve the desired masking effect in Photoshop.
Conclusion
So, this was a blog on what is image masking, and how to mask an image in google slides and Photoshop. I hope this blog will help you guys and that you would easily be able to mask an image in Photoshop. For more such blogs keep visiting the Geek Code Lab Website.
Recent Post;